Taking a screenshot is a useful skill. It helps save or share content from your screen quickly. Whether you’re using a phone, tablet, or computer.
From iPhones to Android, Windows, macOS, and more, you’ll find simple instructions to capture what you need. Let’s explore the steps for each device.
also read:Â How to Activate eSIM on iPhone: Easy Guide for Indians
Take a Screenshot on Mobile Devices
1. iPhone and iPad
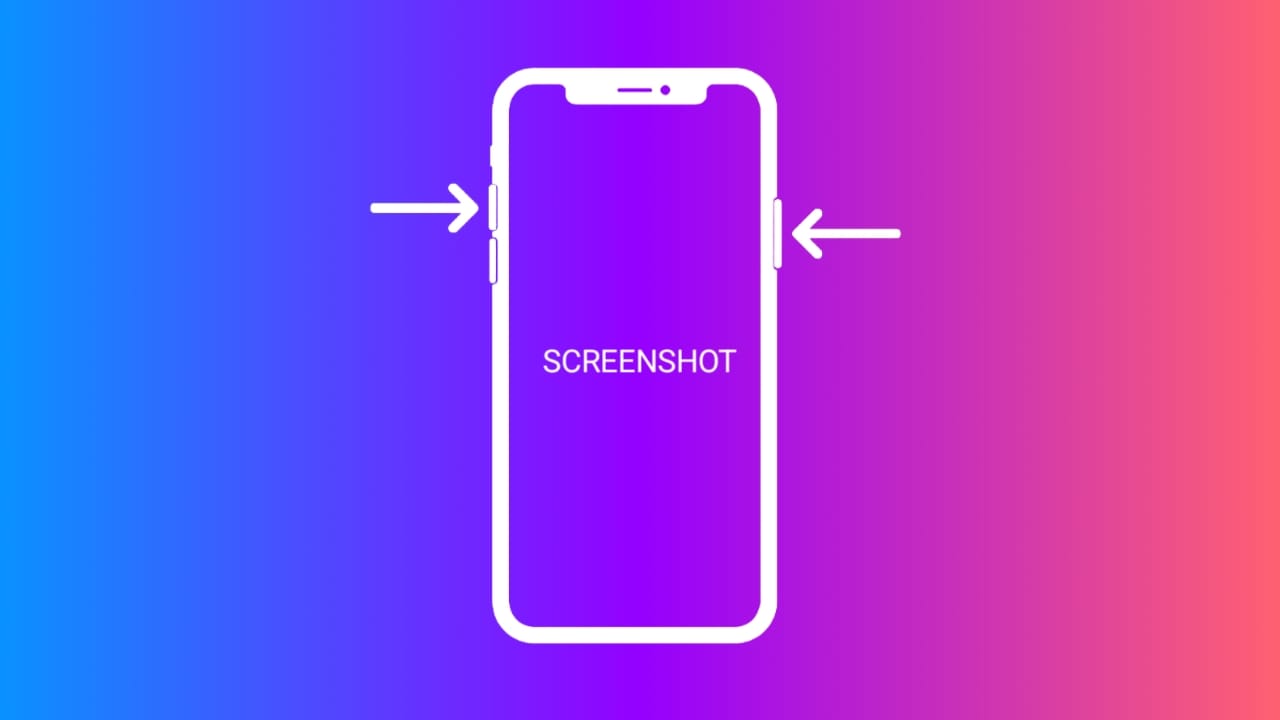
To take a screenshot on an iPhone or iPad, follow these steps:
- Without a Home Button: Press the Power and Volume Up buttons at the same time. You’ll see a flash, and the screenshot will be saved in the Photos app.
- With a Home Button: Press the Power and Home buttons together. The screenshot will appear in the Photos app.
Editing the Screenshot
After taking the screenshot, tap the thumbnail that appears. This allows you to use the Markup tool to add text or draw on the image.
Full-Page Screenshot on Safari
To capture a full-page screenshot in Safari, tap the “Full Page” option at the top. After that, click Done and save it as a PDF to your Files app.
Apple Pencil on iPad
With an Apple Pencil, swipe from the bottom corner of the screen. You can select to capture either the full screen or just the current screen.
Extra iOS Tips
- Screen Recording: Use the Control Center to start a screen recording. You can pause the video and take screenshots while recording.
- Mirroring to Mac: To display your iPhone screen on a Mac, use iOS 18’s screen sharing or QuickTime via USB. You can also use LonelyScreen for AirPlay.
2. Apple Watch
To take a screenshot on your Apple Watch:
- First, go to the Watch app on your iPhone. Enable the Screenshots option under General.
- Press the Side Button and Digital Crown together. The screenshot will be saved on the iPhone, not on the watch.
3. Apple Vision Pro
For Apple Vision Pro, press the Digital Crown and the Top Button at the same time. Alternatively, ask Siri to take the screenshot for you. The screenshot will save to the Photos app.
4. Android Phones
Taking a screenshot on Android devices may vary by brand, but here are the common steps:
- General Method: Press the Power and Volume Down buttons together.
- For Phones with a Home Button: Press the Power and Home buttons simultaneously.
Samsung Devices
- Palm Swipe: In Samsung phones, swipe the edge of your hand across the screen to take a screenshot. This feature can be activated in the Motions section of Settings.
- S Pen: Use the S Pen to select “Smart Select” or Screen Write from the Air Command menu.
Pixel Phones
- Quick Tap: Enable Quick Tap in the Gestures settings to take a screenshot by double-tapping the back of your phone.
Additional Features
- On most Android phones, you can also use the screenshot option from the pull-down menu in the notification bar.
- Google Assistant or Bixby can also help you take a screenshot.
Take a Screenshot on Computers and Laptops
1. Windows 11
Here’s how to take a screenshot on Windows 11:
- Print Screen (PrtSc): Press this key to copy the full screen to the clipboard. You can paste it into any app (like Paint or Word).
- Windows + PrtSc: Press these keys together to capture the full screen and save the screenshot in the Pictures folder.
Snipping Tool
- Press Shift + Windows + S to open the Snipping Tool. This lets you capture the entire screen, a part of it, or a specific window. You can also set the PrtSc key to open this tool.
Xbox Game Bar
- Press Windows + G to open the Game Bar. Click the Camera icon to take a screenshot or press Windows + Alt + PrtSc directly.
Surface Tablets
- On Surface devices, press the Volume Up and Power buttons at the same time.
2. macOS (Mac)
For macOS, the steps vary depending on what you want to capture:
- Full Screen: Press Command + Shift + 3.
- Part of the Screen: Press Command + Shift + 4, then drag the cursor to select the area.
- Specific Window: Press Command + Shift + 5 and tap the Spacebar to select a window.
Touch Bar Screenshot
- If you have a MacBook with a Touch Bar, press Command + Shift + 6 to capture it.
Copy to Clipboard
- To copy a screenshot directly to the clipboard, press Control along with any of the above shortcuts. For example, press Command + Shift + Control + 3 for a full-screen screenshot copied to the clipboard.
Changing Image Format
- You can change the screenshot image format to JPG. Open Terminal, type defaults write com.apple.screencapture type jpg, and then restart your Mac.
3. Chromebook
Here are the basic shortcuts for taking a screenshot on a Chromebook:
- Full Screen: Press Shift + Ctrl + Show Windows.
- Part of the Screen: Press Ctrl + Shift + F5.
Tablet Mode
- When in tablet mode, press the Power and Volume Down buttons together to take a screenshot.
Additional Features
- You can also use the Screen Capture tool from the Quick Settings menu. The captured images are saved in the Downloads folder or Google Drive.
4. Linux (Ubuntu)
On Linux, you can use several shortcuts to take screenshots:
- Full Screen: Press the PrtSc key.
- Active Window: Press Alt + PrtSc.
- Selected Area: Press Shift + PrtSc to select an area for the screenshot.
Using GIMP
- Open the GIMP program and navigate to File > Acquire > Screenshot. You can capture the entire screen or set a delay before taking the screenshot.
Best Tools to Take a Screenshot with Extra Features
If you want more features beyond the built-in methods, third-party tools can be a great help. Here are some popular options:
1. Snagit
Snagit is a paid app with powerful editing features. It allows you to capture videos, images, and full pages. It is ideal for professional use.
2. ScreenPal
ScreenPal is available in both free and premium versions. It lets you record your screen and share content easily.
3. Browser Extensions
- Awesome Screenshot: This extension lets you capture, edit, and save screenshots directly from your browser.
- Lightshot: Another great extension for capturing and editing screenshots on the fly.
These tools are perfect for educators, bloggers, and students who need to share content regularly.
The Bottom Corner
Taking a screenshot is easy once you know the right steps. This guide has covered methods for phones, tablets, computers, and laptops.
You can follow the steps for iPhones, Androids, Windows PCs, Macs, and more. For additional features, third-party tools like Snagit and ScreenPal can be helpful. Now, you can take a screenshot on any device with ease!

")
")
")


