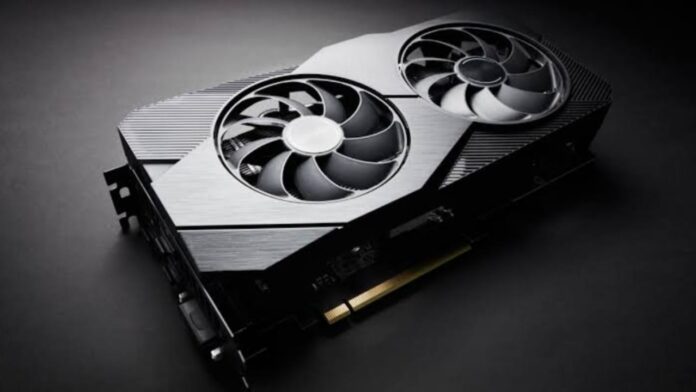
To get good performance, test a Graphics card regularly. This helps you know if your GPU works properly. You can test it using free tools like Novabench.
Windows also offers simple ways to check GPUs. Here, I will explain how you test a Graphics card. Follow all the steps given below carefully.
also read: How to Use HandBrake on a Mac (Full Guide for Beginners)
Test a Graphics Card Using Novabench Tool
Novabench is a free and trusted GPU testing tool. It gives a clear score based on GPU performance. Follow these easy steps to run the test.
Set up your system environment properly
Place your computer where you normally use it. Keep room temperature and usage habits the same. For example, test it on your bed if used there.
Open regular apps you always use
Before testing, open apps you use every day. This may include your browser, music app, or file manager. This gives real-time and accurate test results.
Go to Novabench official website
Open your browser and go to novabench.com. Click the green “Download for Free” button on the screen.
Select personal use and your OS version
Click “Personal Use” on the left side. Now, select your system version like Windows or Mac. This will start the download process immediately.
Install Novabench on your computer
Double-click the downloaded file and start installing. Follow all the steps shown on the screen. Mac users must drag the app into the Applications folder.
Start the Novabench GPU testing process
Launch Novabench by clicking on its icon. Then, click the “Start Tests” button in the middle.
Watch the testing animation carefully
A 3D animation will play during testing. Look at the top-left corner for the FPS (frames per second). A low FPS means your card has issues.
Check the final GPU score displayed
After the test ends, find the GPU score. It appears below the “GPU” section in the result. A score below 400 is usually not very good.
Compare GPU Score With Novabench Website
After getting your score, compare it online. This will help you understand how your GPU is performing.
Remember your GPU name and score
You need your full GPU name and score. Both are shown in Novabench after the test.
Visit Novabench’s GPU benchmark page
Open https://novabench.com/parts/gpu on your browser. This shows average scores of many GPUs.
Click on “Show All” for full results
Click the small link saying “(show all)” above the search box. This shows every GPU result listed on the page.
Use search to find your GPU fast
Press Ctrl+F (Windows) or Command+F (Mac). Type your GPU’s name as it appeared in Novabench.
Check your GPU’s average benchmark score
See the average score listed next to your GPU. Compare it with your score to know performance.
Understand what the score tells you
A high score means your GPU works well. A low score means the card is weak or has issues. Too many running apps may lower the score too.
Other Simple Ways to Test a Video Card
You can also test a video card without tools. Windows offers easy ways to check GPU name and performance.
Use Display Settings in Windows
Click on Start and open Settings on your PC. Go to Display and then click “Advanced display settings.” You’ll see your GPU next to “Connected to.”
Check GPU details in Task Manager
Press Ctrl + Alt + Del together and select Task Manager. Go to the Performance tab and click on GPU. Here, you’ll see temperature, memory, and usage stats.
Use System Information tool
Click on Start and type “System Information” in search. Open it and expand Components > Display. You’ll see GPU name, memory, and driver version.
Check GPU using Control Panel (NVIDIA only)
Go to the Control Panel and click on Hardware and Sound. Then open the NVIDIA Control Panel to check detailed settings of your NVIDIA GPU.
Use DirectX Diagnostic Tool for details
Press Windows + R key to open Run. Type dxdiag and press Enter. Go to the “Display” tab. It will show your GPU and all its features.
Important GPU Specifications to Understand
Knowing GPU specs helps when testing and upgrading. Below are key GPU terms you must understand:
- GPU – It processes all video and graphics tasks.
- VRAM – This is video memory, usually 4GB to 8GB.
- Core Count – More cores give better speed and output.
- Clock Speed – Measured in MHz. Higher means faster.
- Resolution Support – Look for 4K or high pixel support.
- Refresh Rate – Measured in Hz. 120Hz or more is good.
- Driver Version – Always keep the latest drivers installed.
How to Update Your Graphics Card Driver
Drivers are very important for smooth GPU performance. Outdated drivers can slow down your GPU a lot.
Update using HP Support website
Visit HP Support and search your laptop model. Download the latest driver for your GPU from the site.
Use Windows to auto-update the driver
Open Settings > Display > Advanced Display Settings. Click on “Display adapter properties.” Go to the Driver tab and click “Update Driver.”
Best HP Laptops With Powerful Graphics Cards
If your GPU is old, get a better laptop. HP offers laptops with strong GPUs for every need.
- HP OMEN 16-wf1031TX
- Has NVIDIA RTX 4070 GPU
- Comes with 8GB GDDR6 memory
- Best for gaming and 4K editing
- HP Victus 16-r1065TX
- Also has NVIDIA RTX 4070 GPU
- Great for multitasking and creative work
- HP Zbook Fury G10 Workstation
- Includes RTX 5000 Ada GPU
- Has 16GB GDDR6 memory
- Perfect for 3D work and video editing
The Bottom Corner
It is important to test a Graphics card often. You can use Novabench or Windows tools. This helps you find issues early and improve speed.
If needed, upgrade your GPU or buy a better laptop. A good GPU gives faster and smoother experience.


